
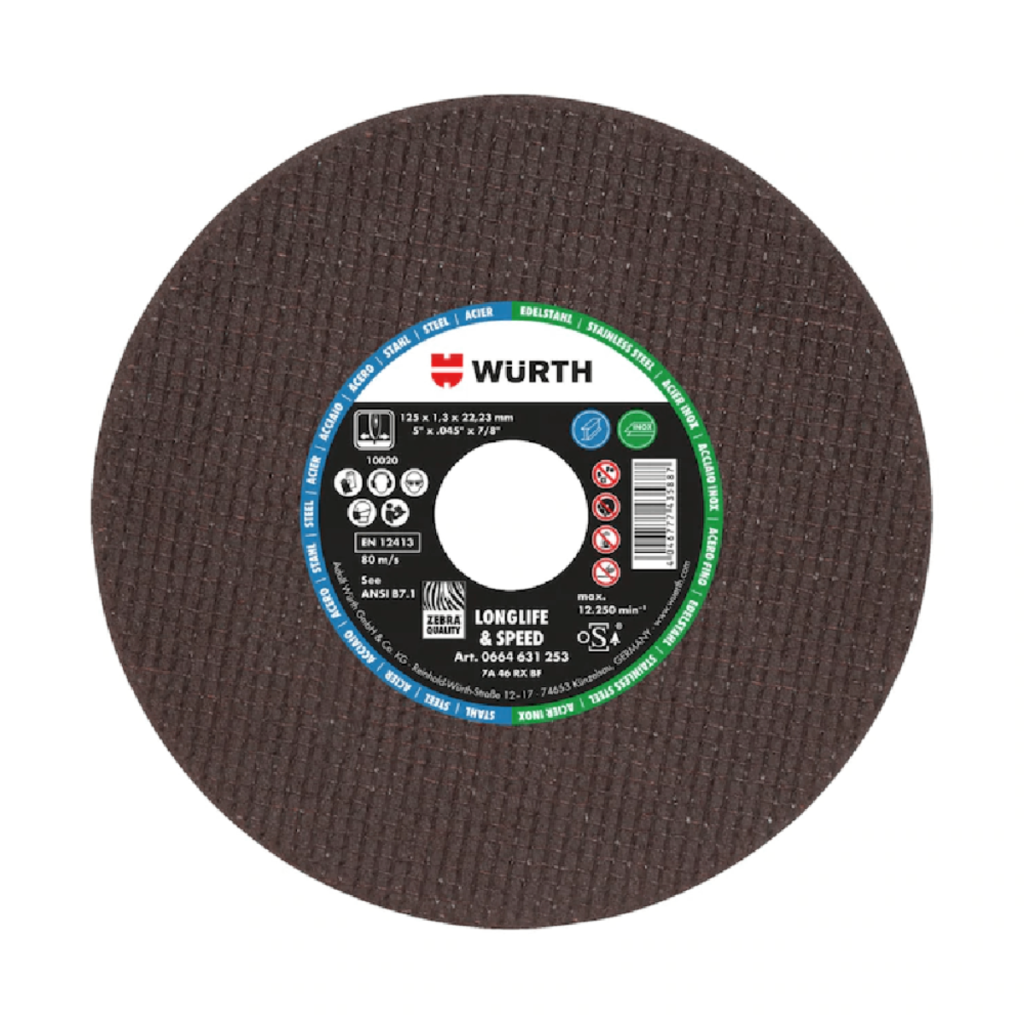
Cutting Discs: How to Read the Labelling and Which One to Choose
The label on the cutting disc is not just for decoration. Within a few centimetres of paper, there are


Wooden doors and windows add unique character to a home, but they are also the first to "betray" its age. When the paint starts peeling, yellowing, or looking dull, replacement isn't your only—nor your most economical—option. A proper, methodical paint job can completely revitalize the wood, give it a second youth, and extend its lifespan for many years to come.
In this ultimate DIY guide, we break down everything in plain terms: from choosing the right materials and repairing damage to proper sanding techniques and the key differences between painting an interior versus an exterior door.
Painting wood is a process that deeply rewards patience. If you try to cut corners by skipping the sanding or priming stages, the final result will quickly disappoint you. Follow these steps in the correct order for a flawless, professional finish.
Before you pick up a brush, protect your floors by laying down a plastic drop cloth or heavy paper, securing it tightly with masking tape.
If the old paint layer is cracked or peeling, it must be completely removed. New paint needs a stable, solid foundation to adhere to.
Even if the old paint is perfectly stable and doesn't need to be stripped, sanding is mandatory. It scuffs up the surface, opens the wood pores, and allows the primer to lock onto the substrate.
Priming is never a waste of time; it is your insurance policy for a finish that stands the test of time. It seals the bare wood, prevents it from unevenly soaking up too much paint, and ensures a uniform color layout.
Stir your paint very thoroughly before you start.
Remove the painters tape from the glass panes before the paint dries completely. If you let it cure entirely, peeling the tape away risks lifting and tearing chunks of your brand-new paint job. Let the door rest for 24 hours before reattaching the hardware and hanging it back up.
An exterior door is the "soldier" of the house—it is constantly exposed to direct sunlight, heavy rain, humidity, and drastic temperature swings. Therefore, the requirements change significantly:
| Use | Popular Choices | Paint Type (Oil-based Enamel vs. Water-based) |
| Interior Doors | White, Off-white, Ivory (for brightness & a minimal style). Charcoal, Soft Grey, Forest Green (for a modern contrast). | Acrylic Water-Based Paints (Eco): Dry incredibly fast, do not yellow over time, are virtually odorless, and are ideal for indoor environments. |
| Exterior Doors | Black, Deep Brown, Charcoal, or Natural Wood with a tinted varnish (they mask dust and handle harsh sunlight beautifully). | Water or Solvent-Based Enamels (Trim Paint/Ripolini): Provide massive impact and scratch resistance, are incredibly easy to wash down, and seal out humidity. |
New paint cannot hide dents, gouges, or deep scratches—in fact, it often highlights them. Spend a little time fixing imperfections beforehand:
Small holes from old nails, woodworms, or impacts can be easily patched up using a high-quality wood filler in a shade close to your wood. Force the filler deep into the hole using a small putty knife. Because wood filler tends to shrink slightly as its moisture evaporates, overfill it a little so it bulges out. Once fully dry, sand the spot down until it is perfectly flush with the surrounding wood.
If a window pane is cracked or broken, it must be replaced before any painting starts. Wearing thick protective gloves, carefully pry away the old shards, scrape out any old dried putty or adhesive from the wood groove, seat the new glass pane, and seal it tightly with specialized silicone or heavy-duty wood adhesive.
Due to moisture absorption, wood frequently swells, causing doors to scrape against the floor or jam in their frames. Before you paint, trace the exact sticking point (it will usually be scuffed already) and shave away a little material using a wood scraper, a hand plane, or coarse sandpaper. Do this gradually, checking the fit as you go, so you don't take off more wood than necessary.
Wood is an organic, living material that requires routine care, especially if it sits in a high-humidity area, near the sea (salt air), or faces harsh winter winds.
If you don’t have the time or budget for a massive stripping and repainting project, you can completely transform an interior door with three quick tricks:
Only if the existing paint layer is in absolutely pristine condition (zero cracking, bubbling, or peeling). Even then, a light scuffing with fine sandpaper is vital to give the surface some "teeth" so the new coat adheres. If the old paint is peeling anywhere, it must be stripped away; otherwise, it will lift up and ruin your new coat.
For interior doors, water-based eco-enamels (acrylics) are the superior choice. They dry very quickly, emit zero harsh chemical fumes, wash clean with a simple wipe, and unlike old-school oil-based paints, they will never turn yellow as the years go by.
The standard professional standard is 1 coat of a dedicated wood primer followed by 2 coats of your topcoat paint. If you are trying to cover a very dark door with a bright light color (like pure white), you might find yourself needing a 3rd topcoat for flawless coverage.
Take a screwdriver and press it firmly into the bottom edges of the frame (where rainwater typically pools). If the wood feels soft, spongy, sinks in effortlessly, or crumbles away, it has rotted through or suffered severe woodworm damage. At this stage, its structural integrity is compromised, and replacing it is the only sensible long-term solution.
At Geosantro, you will find all the premium supplies and proper tools required to execute your wood door and window restoration project with absolute success. From high-quality masking tapes and assorted sandpapers to advanced pneumatic tools, abrasive accessories, and heavy-duty hinges. Take advantage of our free shipping across Cyprus for all orders over €50.
If you are having a tough time figuring out exactly which consumables or tools fit your specific DIY project, our expert technical advisors are always on hand to give you the perfect breakdown!
Related Articles:
The Tools You Must Have At Home
How to Fix Objects to the Wall?
The label on the cutting disc is not just for decoration. Within a few centimetres of paper, there are
The three materials look the same inside the cartridge but behave completely differently on the joint.